
When I first started out sharpening scissors in Surrey I searched for pieces to practise on. I went to local charities and begged for scissors. Charities were reluctant to sell anything sharp, but they did get knives and scissors from time to time. ‘Come back another day’ seemed to be the standard answer I got from everywhere.
I was complaining to my wife about the lack of scissors when she brought me a large tote box full of scissors that she inherited from her mother who among other things, taught sewing and quilting classes. In the tote was a hand written note that read ‘Dull’.
The scissor collection contained mostly sewing scissors dating from between 1950 to 2000, some of which must have been picked up second or third hand. Varying quality and different makers. Mostly British and Continental. There were a couple of heavier shears of a pattern that I had never seen before. After a few minutes on google, I found out that they were leather cutting tools.
There are lots scissor sharpening videos on youtube, showing all sorts of methods ranging from filing to using a dedicated machine. Some of these techniques made sense while others were just click bait.
Types of Scissors Customers Use
Here I will list the most common types of scissors that I see most often:
General Purpose or Paper Scissors – Various Grades
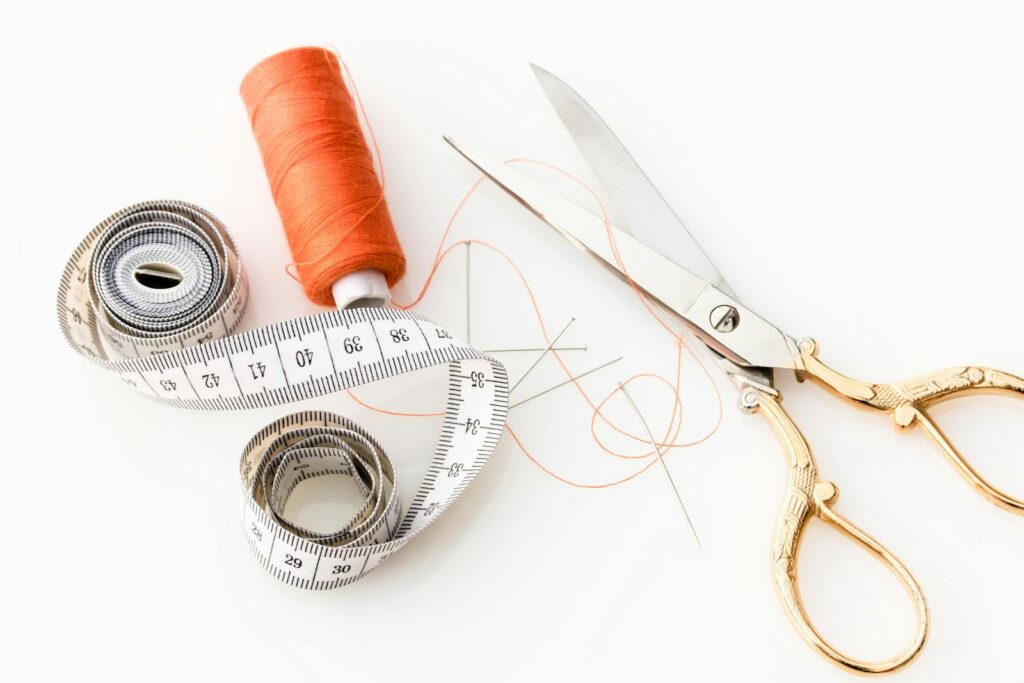
Sewing Scissors and Pinking Shears
Kitchen Scissors and Poultry Shears
Salon Scissors – Premium and Inexpensive
General Purpose or Paper Scissors
By far, these are the most common scissors that my customers bring for sharpening. They range from well built at the high end to virtually disposable at the low end. Some scissors seem to cut paper effortlessly but nothing else. Other scissors are well rounded and typically live in a drawer and get used for everything from opening boxes to cutting string.
Clean and inspect first. Packing tape is the worst culprit as the adhesive builds up slowly until it causes difficulty. Use Isopropyl Alcohol, WD40, White Spirit, etc.
In a perfect world, these scissors would have a fairly straight blade and a screw that allows quick and accurate blade tensioning. The blades would be made from a steel that had the ability to spring slightly to facilitate efficient cutting from base to tip, and hold a sharp edge through heavy use. I run into scissors built decades ago, often with chrome plating that has worn away, that are perfectly functional after sharpening, lubrication and blade tension adjustment.
The first trick to sharpening these scissors is to pay close attention to the blade angles. Sometimes both blades have the same bevel angle, but quite often there are two distinctly different angles on each blade. If someone is trying to cut corners and use the same angle for both blades, the scissors will not work well.
The second trick is to deburr the blades after sharpening. There are many ways to do this, and proper deburring means that the sharpened scissors will cut straight away. Failure to deburr will often cause the scissors to perform poorly, especially at the beginning as it is possible for a burr on scissor blades to disappear through use.
Proper blade tension will allow the scissors to cut through their full length. The rule of thumb is that gravity alone should close the scissors approximately one third to one half way. If too tight, the scissors may work but would require a lot of strength to use. Too loose and the blades will just slip over the material you are cutting and wedge it in between the blades.
Higher quality paper scissors will have a screw holding the blades together. This allows the blades to be separated for cleaning and sharpening. Cheaper scissors have a single rivet holding the blades together preventing disassembly. A brave sharpener can adjust the blade tension by tapping the rivet gently with a smooth face hammer over an anvil.
I used to wonder why customers would bring me low end, massed produced scissors and pay more to have them sharpened than it would cost to replace them. Now I think that people don’t want to throw away these items, partially due to environmental reasons and partially because they trust the scissors and don’t want to risk buying a new pair that may be defective from the factory. I always sharpen and set up these cheap scissors so they work better than they were when new.
Scissors also benefit from a tiny bit of lubrication. I continue to experiment with different lubricants, and my choice mostly depends on the material to be cut. Home office versus shed versus kitchen. Writing paper, foil, parchment, or gift wrapping.

Sewing Scissors and Pinking Shears
I must admit that working on these tools give me the greatest satisfaction. These scissors are often family heirlooms, in the process of being passed from one generation to the next. Tools made back in the day, where time was less valued and makers could use better material and pay attention to the ‘little things’ that made a difference in use.
I am not saying that new sewing scissors are all bad, but I have to say that I saw a pair of very expensive Italian Dressmakers Shears that I gave to my wife a decade ago recently. I commented that they had never been used. My wife explained that she kept them because they were an expensive gift, but they were hard to use and felt ‘rough’ when cutting. I gave them a quick test, and even though they were top of the line quality, it was the ‘little things’ that made the difference. There were some rough edges, burrs and they were overtightened. I would not have passed them back to a customer who brought them to me without correcting these problems.
The keys to sharpening these scissors are basic. Pay attention to the blade angles and do not change them if the scissors worked well before. You do not want to turn a good sewing scissor into a bad paper cutting scissor. Deburr carefully. Set the blade tension properly and finally test, test, and test again on the type of material cut most often.
For reasons unknown, sometimes you can go through the proper steps and end up with scissors that won’t cut at all. You need to resist the urge to panic, and start the sharpening process again. Most often you end up in the right place by the third try, even though you are unaware of what caused the problem.
Pinking shears are often an unknown. Some have worked well for several decades and after careful sharpening and deburring will work well for several more. Others have never worked since new. Sometimes it can be traced back to a poor grinding at the factory or just a bad design. With patience and common sense, usually these examples can be made to work. Manufacturers are all under pressure to keep price points as low as possible. Quality control usually is the first thing to suffer.
Bevel angles very greatly between manufacturers and models. Different blade angles are optimized for different materials. It is very rare to see just one pair of sewing scissors in a sewing room. It is important that sharpeners try and retain the qualities that make each pair of good scissors ‘good’.
Kitchen Scissors and Poultry Shears
These are the workhorses of the home kitchen and are often pressed into service to do general household cutting tasks. In design they are heavier than paper scissors to handle a wider range of material.
Before you do anything, clean and inspect. I usually use 90% Isopropyl Alcohol for this. Examine carefully and look for chips and make a note if any are found.
Poultry shears often have fine ‘ridges’ ground into one of the blades to keep meat from slipping as it is being sliced. I always leave these in place as they generally do not wear. The cutting blade is often thick and heavy. Better shears can be disassembled for cleaning and sharpening, while cheaper ones cannot.
Keeping the original factory angle on the cutting blade is important. Sometimes these blades are curved, which makes them a challenge to sharpen. You can sharpen a curved blade easily, but keeping the bevel aesthetics correct can be difficult. Often there is a notch in the blade of some shears to hold bone. This usually has to be sharpened by hand with a small stone.
Some ‘kitchen’ scissors have a reverse curve in the blades. I cannot see a practical purpose for this other than to make the scissors look more aggressive. This reverse curve makes machine sharpening almost impossible.
Remember to set up blade tension. On these tools, I tighten the blade until it starts to bind, then back off until I achieve a nice, smooth motion. I use mineral oil for lubrication as it is food safe.
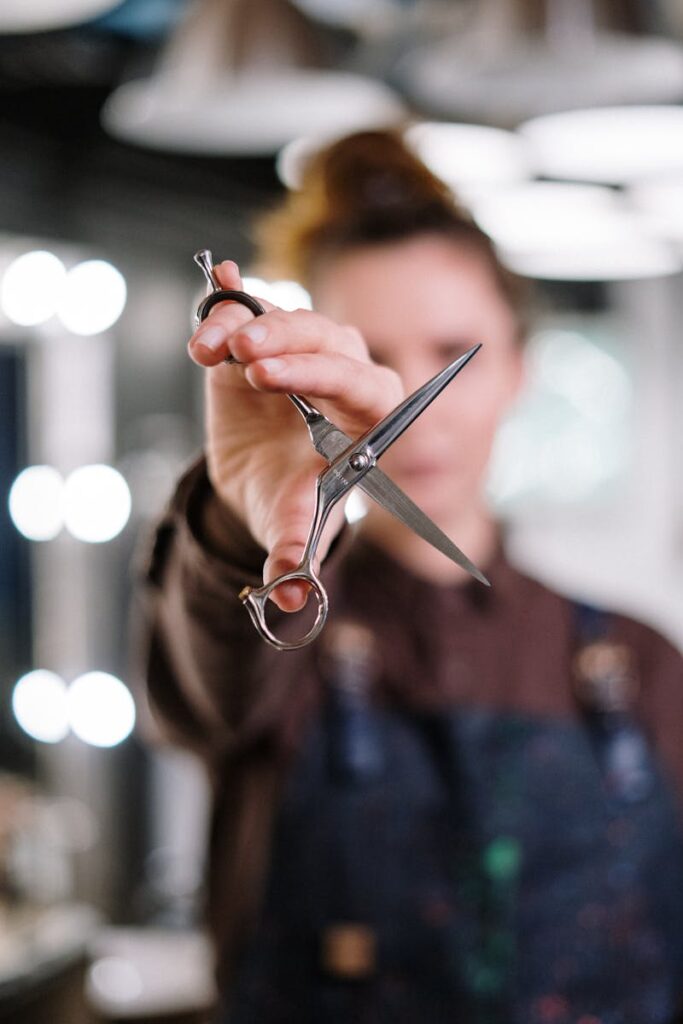
Salon Scissors
The scissors used by this trade range from beginners through to advanced. Purchase prices range from very low and go up from there. Dedicated Grooming Scissors for thinning, working with curls and other specific salon tasks exist. There are two blade profiles; convex (curved) and bevel edged (beginner/intermediate). Convex scissors are usually sharpened with specialized equipment that will allow the sharpener to match the curved profiles put on each blade by the manufacturer.
Salon scissors often have a quick adjustment mechanism that allows the stylist to change the blade tension easily to match the characteristics of the hair they are working with. The Convex edge on these scissors can easily be ruined by improper sharpening techniques or the wrong equipment. Often the damage can be reversed but it takes a lot of time and knowledge. The process usually shortens the life of the scissors, which is not desirable.
There is a curve built into the blades that ensures even cutting right up to the tip of the scissors. This curve can be adjusted slightly depending on the construction method used to manufacture the scissors (cast or forged), and needs a special jig to do properly.
Stylists use these tools to make their living, and thus are reluctant to take risks with untrusted sharpeners. Many insist on having the sharpener work in situ at the salon so they can be supervised. Many sharpeners, such as myself, are not ready to take on this level of specialization and avoid this niche.
There are low end grooming shears available for stylists (and the household consumer market) who are starting out and don’t have the resources to invest in high end equipment. Most often, these scissors have a bevel edge blade that can be ground on most regular scissor sharpening equipment. Care must be taken to sharpen each blade at the correct angle as well adjust the blade tension and curve properly. Scissor Wax is the correct lubricant for these.
Conclusion – Scissor Sharpening
I done a fair bit of scissor sharpening. Good and bad. Disposable school scissors to vintage pinking shears. I like the ones with screws holding them together. I can take them apart, give them a proper cleaning, sharpen and deburr each blade separately and safely. Blade tension adjustment is simple and accurate.
People are becoming more reluctant to throw away things. They are looking for simple and durable tools. I think that scissors and shears fall perfectly into this category as people are starting to realise that the shiny pair in a blister pack in the window of the high street retailer may not be as good as the old pair in the drawer. Most scissors will stay sharp for many, many years in regular domestic use. Try not to cut wire or staples with them and the blade will stay free of nicks. Keeping scissors sharp is a small expense and inconvenience that only has to be endured a couple of times a decade.
I use a water cooled Tormek machine for most of my scissor sharpening. It has a dedicated scissor jig and works well. For blades with special curves or notches, I use hard fine stones with different profiles. When I start drowning in scissors to sharpen, I will invest in a dedicated ‘Twice as Sharp’ machine that only does scissors. People use flat stones to sharpen at home, which is fine if you are very cautious and preserve the factory angles.
Leave a Reply