
A chef knife should kept clean and sharp, always ready for the next kitchen prep task. In between uses, a knife should be kept dry and protected from an impact with a hard surface. In a knife block or knife roll. Attention should be given to the angle of the edge, to make sure that the desired geometry is maintained or achieved.
There are two factors that cause a knife to dull:
Friction
Pressure
You can minimize the effects of these factors by:
Using an appropriate cutting surface
Storing your knives properly to avoid them contacting other metal objects, especially other knives
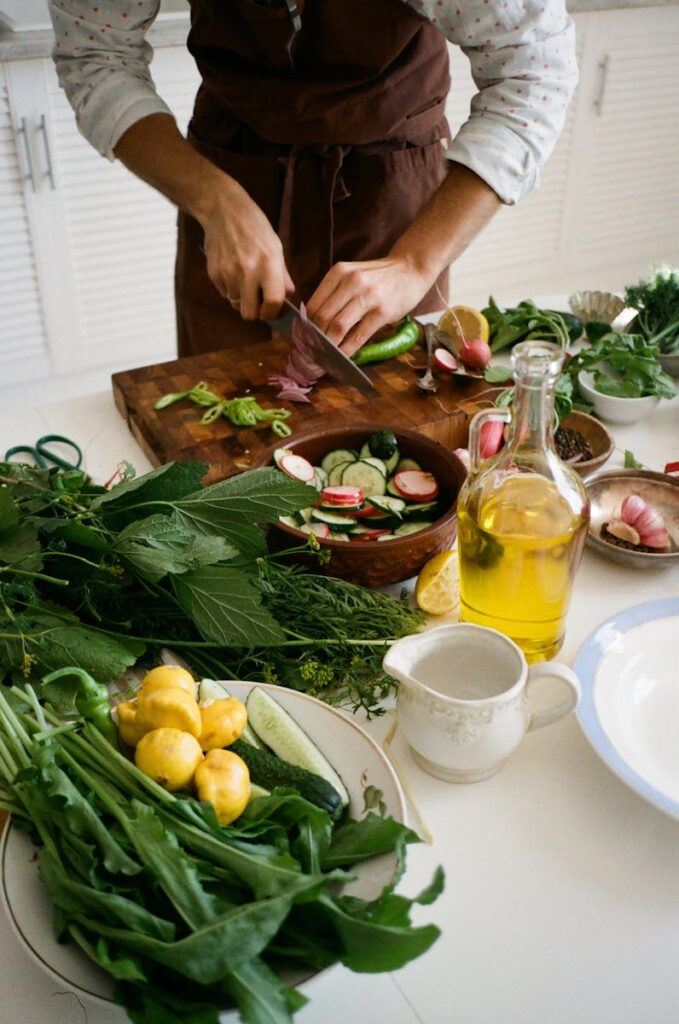
Cutting Boards
When I was growing up, we always used wooden cutting boards in the kitchen. They were great as they did have a slight friction that held food as it was being cut. The draw backs were really all related to keeping them clean and dry.
Recently wooden cutting boards are enjoying a come back in the kitchen. Unfortunately the materials and construction have changed. Bamboo cutting boards are common, but not recommended as they are ‘hard’ and can quickly dull a sharp knife. If you use one, try and cut with the grain and not across.
Wooden boards should be constructed so that the ‘end grain’ of the wood is in contact with the knife, and not the ‘long’ grain. This makes manufacturing of a wooden board quite time consuming and wasteful as each piece of wood needs to be cut into a small block and glued into a matrix of pieces to form a board. After the glue is dry, then the board is carefully sanded smooth. In use, these boards work well, but require maintenance as the weak end grain is exposed. They will warp if not kept dry and lightly oiled. The best thing about a properly constructed wooden cutting board is that the knife does not have to drag across long grain and stays sharper longer.
Metal cutting boards can withstand harsh chemicals, and have their place in food safe commercial kitchens but are not required at home. They would be very hard on the edge of a knife.
For the above reasons, I have switched exclusively to polyethylene (plastic) cutting boards. They are inexpensive, dishwasher safe and easy on knives. I view them as ‘consumables’ and replace them when the surface gets scarred and interferes with the cutting I am doing. I have several sizes and multiples of the sizes I use the most.
I have some larger colour coded commercial versions that I reserve for large scale family dinners or slicing large pizzas on. My wife prefers that colour coded boxed sets of these boards, but I like the plain white versions in various sizes. I have recently ordered several directly from China in 3, 4 & 5mm thicknesses. I find 3mm too thin and prone to warping in the dishwasher.
Cleaning a Knife
Knives should be cleaned as soon as possible after use. In practice, I fill a sink with around an inch of hot soapy water prior to starting food prep. After each task, I soak the knife for around 1 minute, then use the soft side of a dishwashing sponge to remove the residue from the last cutting session and rinse. I then quickly dry the knife with a kitchen towel and am ready for the next round of prep. I cut veg first, and meat last and switch to a new cutting board as soon as it makes sense (hot peppers vs child friendly food).
After I dry the knife, I check it for sharpness. If it feels like it is getting dull or I am not happy with the way it just cut, I use a steel to and make a 3 or 4 of light passes over each side of the knife blade, keeping an eye on the angle I am using. I have a couple of Japanese knives that are too hard for my German steel to have any effect on so I omit this step when I use them.
Avoid putting a good knife in the dishwasher. The knife will probably survive a few runs through a dishwasher in its lifetime without too much damage. Remember that there are several ingredients in dishwasher soap that can react with stainless or carbon steel. This can cause the removal of certain elements, changing the characteristics of the steel. It is not worth going down this road.
My sister in law thought she was doing me a favour by putting one of my best knives through the dishwasher after a large family holiday meal. I found it the next day, and realised that the hardwood handle on the knife was ruined. I suppose I could refinish the handle, but the knife would never be the same. If you are entertaining and don’t have time to clean your knives immediately, just put them aside some place out of sight and deal with them when you are free.
There are preferred types of oil for wooden knife handle maintenance. There is a specific Japanese Magnolia oil, a Camellia based oil, and several others. If you have a wooden cutting board, you probably already have some oil. Try that oil. If you are starting from scratch, try a very basic mineral oil, or other food safe oil such as walnut oil. Use common sense. Food safe or mineral oil cannot do much harm. You can always add another coat so start with less.
Some professionals restore a stripped wooden knife handle with Danish Oil (varnish/linseed oil/solvents). Danish Oil can work very well, provided the first coat is applied to clean bare wood, and has enough time to dry before being put back into service. You need to experiment and adapt your method to the existing finish on your knife handle, whether it be lacquer, oil or wax.

Carbon Steel Knives
Carbon steel knives are a mixed blessing as they require a little bit of extra care, but can hold a superior edge due to their steel properties. In many ways, they are easier to sharpen than stainless steel knives as carbon steel behaves in a more predictable way than stainless steel because of the extra additives in stainless. Some types of carbon steel can be hardened so that they keep an edge for a long time. Other factors, such as ‘toughness’ can be chosen by the knifemaker when deciding on which steel to use.
The nickel, chromium and other elements that make steel ‘stainless’ can be minimized as rust resistance is not a requirement of carbon steel. Tool steels, for instance have been used in industry for many decades because of their edge retention properties and not for their corrosion resistance properties. Custom knife makers often prefer carbon steel over stainless as they can control the heat treating process and fine tune it to produce the results they want in the finished knife.
There are several popular carbon steels available from Japan used to make knives. These are selected by the user based on their various properties such as edge retention, toughness, corrosion resistance and ease of sharpening.
Essentially, carbon steel knives need to be kept clean and dry. This is especially important after cutting acidic foods like tomatoes. Once dry, a very light coating of oil should be applied to a carbon steel knife to act as a barrier between the steel and the atmosphere. Kitchens can be very humid environments, which encourages corrosion to start on knives. If your carbon steel knife develops some rust, it can usually be removed either chemically or by polishing so don’t get discouraged.
Treat your carbon steel knife like you would treat your wok or carbon steel pan. Clean it, dry it and oil it lightly before you put it away.
Care when processing hard or frozen foods
Western knives are usually hardened to 56 to 58 HRC. Japanese style knives are usually made slightly harder. This is due to cultural food preparation differences. In Western cooking, the chef’s knife is used for many operations such as slicing, chopping, and a few butchery tasks. On the other hand, in a larger Japanese kitchen, more than one knife would be used for these tasks. A knife used for thin slicing would not be used to break a bone or process a side of beef. Specialty knives or cleavers would be used for these heavier tasks, but not used for fine work.
The humble cleaver is a great example. There are meat cleavers, with thick blades and robust edges, often convex in profile. There are general purpose cleavers that are thinner and have finer edges. There are slicing cleavers with very thin blades and very fine edges. Each has a different roll in the kitchen.
The soft steel used in Western knives will allow the occasional chop through frozen food or a bone joint without catastrophic failure. The edge may ‘roll’ or dent, but probably won’t chip. This is not necessarily true for Japanese style knives that can chip. The edge on a Western knife can often be tuned using a ‘steel’. The steel essentially forces the edge of the knife into alignment and straightens it. If there is a slight roll in the edge, the roll can be straightened out. A steel can be used often as very little metal is actually removed in the process. The apex of the edge is just bent back into line. In some commercial kitchens, a knife is treated with a steel after each cutting session, then put back into service as some chefs require a knife to be at its sharpest for each session.
Harder steels can keep a sharp edge for longer than soft steels, but this does come with a trade off. The harder the steel, the more brittle it is. A metal file is a good example. Files can cut steel and last a long time, but if you drop them on a hard surface, you risk cracking them.
If you regularly process frozen food, keep an inexpensive knife, or even a small hatchet around for this purpose. A thicker one with a bit of weight and convex edge would be preferred. Back in the day, I used an inexpensive 10 inch Chicago Cutlery chef’s knife for this purpose. If you chip it or break the tip off, it can be repaired or replaced.
When to sharpen
If you regularly use a steel to touch up the edge on your knife, you will know when the apex of the edge is too worn to be restored to the sharpness you are used to. It is at this point you need to sharpen. Generally when you require a lot of pressure when cutting harder foods, you need to either use a steel or sharpen the knife. When cutting softer foods, when the edge of the slice becomes jagged, you know it is time to sharpen. If you are using hard knives, you probably are not going to be using a steel and you go straight to the sharpen stage. A knife can chip. When it does, you can often remove small chips during the sharpening process. A large or deep chip usually requires grinding out prior to sharpening. This usually restores the function of the knife, but also removing lots of metal will reduce the lifespan of a knife.
How to sharpen
There are endless ways to sharpen a knife. There are tools available that don’t require any skill that you just drag a knife through and end up with an edge. I can’t really recommend these tools even though I have several of them. They can remove a lot of metal and you get the edge that the tool is set up for, not necessarily the factory edge of the knife or the edge you are looking for. Each time you remove metal, you shorten the life of your knife, so the general idea is to remove as little as possible in each sharpening session.
If you have some interest and time to learn, then sharpening with stones or diamond plates is probably the cheapest way to get started. Stones can be synthetic or natural. Some work with water while others work with oil. Some water stones require soaking while others just require wetting or spraying with water and are ready. To use flat stones properly you will need to understand your sharpening angle and be able to grind at this angle consistently for many repetitions. This is a skill that is learned over a period of time as muscle memory develops. There are angle guides available to help beginners overcome this problem. The most basic system is a single stone, around 1,000 grit. A 2 stone system would include a coarser stone, around 250 to 350 grit, and then a 1,000 grit stone. A 3 stone system would add a finer grit 3,000 or 5,000 stone to polish the edge. You will get a ‘Burr’ when you are finished grinding, and it needs to be removed with a strop to achieve the final edge. Some users progress to 10,000 or higher to achieve a ‘mirror’ edge or finish on their knife.
The next step up would be a guided sharpening system. There are several available. Basically they allow you to clamp your knife and control the angle of the stones that do the sharpening. These systems are a little more expensive, but are capable of yielding excellent results. There is a learning curve, but it is not as steep as using flat stones. You still need time and practise. You also need a work space to set up your system.
Professional sharpeners use power sharpening systems as they save time. Unfortunately power systems have a learning curve and can ruin a knife in seconds if not used correctly. Some experienced sharpeners use variations of belt sanders. Sharpening is done free hand or using some sort of jig to set the angle. The process starts with a coarse belt, then progresses through a series of finer belts to obtain a better edge. This process creates a ‘Burr’ on the apex edge which has to be removed. This is done with a leather or felt belt, sometimes with special abrasive compound.
Other sharpeners, like myself use a low speed ‘wet’ grinder to sharpen. Most systems allow the use of jigs to set the angle and offer various stones to work on different types of steel and obtain the desired edge refinement. Generally, this process is slower than the belt grinder, but there is less risk of damaging a knife. Due to the wet nature of the sharpening process, much of the dust particles and metal fragments are captured by the water and there is less health and safety risk. This can be important when sharpening in public places. A Burr is created by the stone and is removed using leather or felt wheels.
Power sharpening is great, but it requires a significant investment in equipment and space. There is a quite significant learning curve involved before you can sharpen a knife to any degree without harming it. Therefore, usually this type of sharpening is done by those that can spread the cost out over hundreds of knife sharpening sessions.